Building a Keyboard
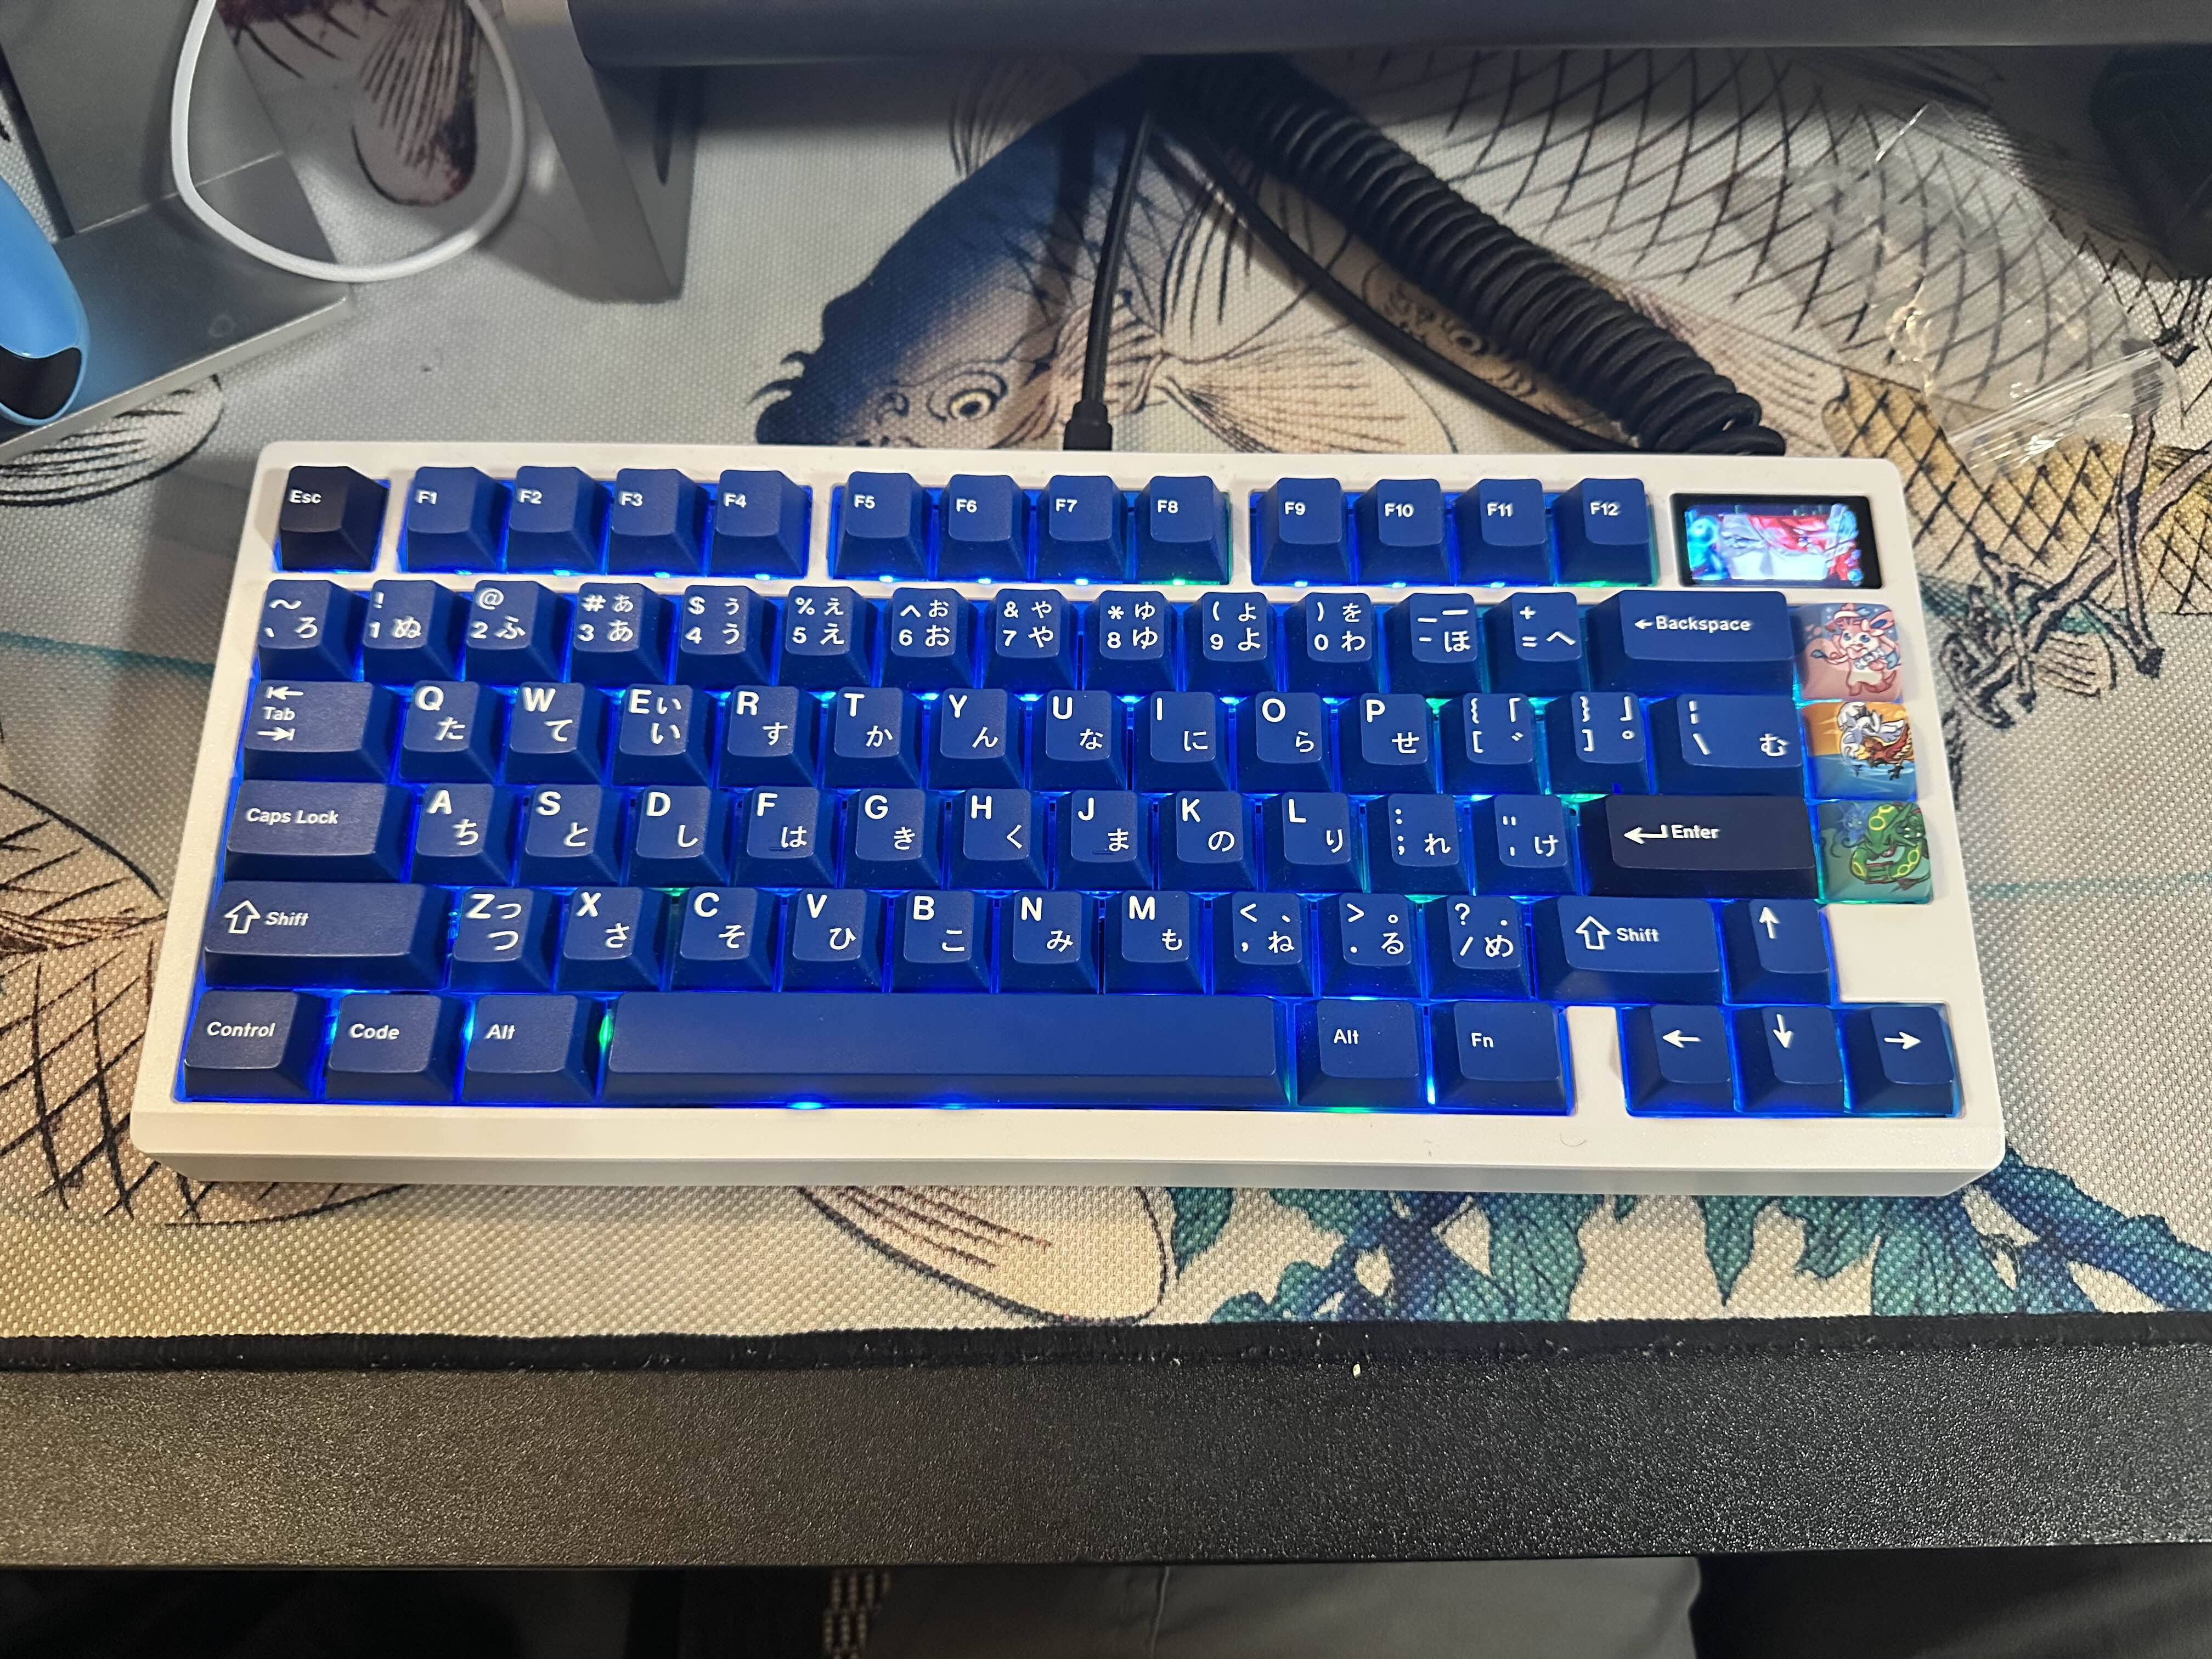
For this project, I assembled a Zoom75 barebones keyboard kit by carefully following the manual and troubleshooting the wiring to ensure full functionality. I also installed a small LCD screen inside the keyboard by replacing one of the original badges and added a battery to enable wireless operation. I took the time to properly lubricate the switches, which improved both the feel and sound of the keyboard, making it smoother and more enjoyable to type on. I also installed the keycaps I previously owned to achieve a keycap profile that I enjoy typing on. Finally, I combined all the components to complete the fully functional keyboard.
Through this project, I learned the importance of taking my time and approaching tasks carefully rather than rushing. I also gained experience with wiring techniques while installing my keyboard and learned how to apply creativity in designing and customizing it. Additionally, I realized that when I am truly interested in a project, I naturally invest more time and care to ensure the best possible outcome. This project also helped me improve my problem-solving skills, especially when troubleshooting unexpected issues during assembly. Overall, it showed me the value of patience, attention to detail, and perseverance in completing a technical project successfully.
Materials Used:
1) Zoom 75 with a metal plate
2) LCD Screen
3) Zoom 75 Polycarbonate Plate
4) Lubricated Everglide Aqua King switches
5) Lubricated DK Cookies and Cream switches
6) GMK Striker 2.0 Keycap set